Description
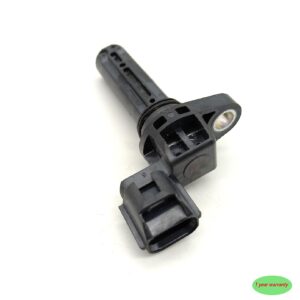
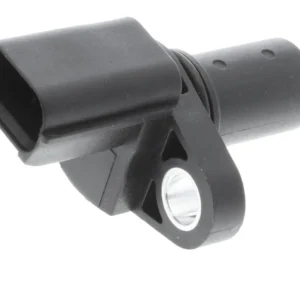
How to replace a faulty ABS sensor
Once you’ve identified that the ABS sensor is at fault, follow these simple steps for a best practice sensor replacement:
- To start, loosen the wheel nuts before jacking the car up (do not remove wheel nuts yet). Consult your owner’s manual for correct jacking points, and ensure that the vehicle is raised and supported securely.
- Remove the wheels and move to the side to access the brake system.
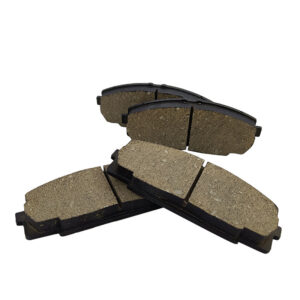
- You may also need to remove the brake pads and discs to view and access the ABS sensor. Watch our YouTube video for best practice advice on how to do this.
- Once accessible, remove the bolt that holds the sensor onto the hub and the clips that secure the sensor wiring to the vehicle’s chassis/body.
- Then unplug the sensor.
- Clean the area around the sensor with an emery cloth.
- Working in reverse order, it’s now time to install the new ABS sensor. Start by plugging in the sensor and then routing the harness back so it is secured to the body/chassis. Then insert it into the hub.
- If you had to remove the pads and discs, reinstall and torque to the correct specifications.
- Refit the wheels, tighten and lower the vehicle to the ground.
- Then torque tighten the wheels to the manufacturers specification.
- Reconnect the diagnostic kit and delete any fault code(s). Run the engine, and recheck for any new fault codes. Exit the diagnostic software and switch off the ignition.
- Finally check that the check engine light has been extinguished, then carry out a road test.


Reviews
There are no reviews yet.